فيلم آموزش اينديزاين cc به زبان فارسي و مثال محور ، آموزش InDesign 2017 نرم افزار کتاب نشر روميزي ، صفحه آرايي ، طراحي و چاپ ، آموزش اين ديزاين از مقدماتي تا پيشرفته
صفر تا صد آموزش اينديزاين Adobe InDesign

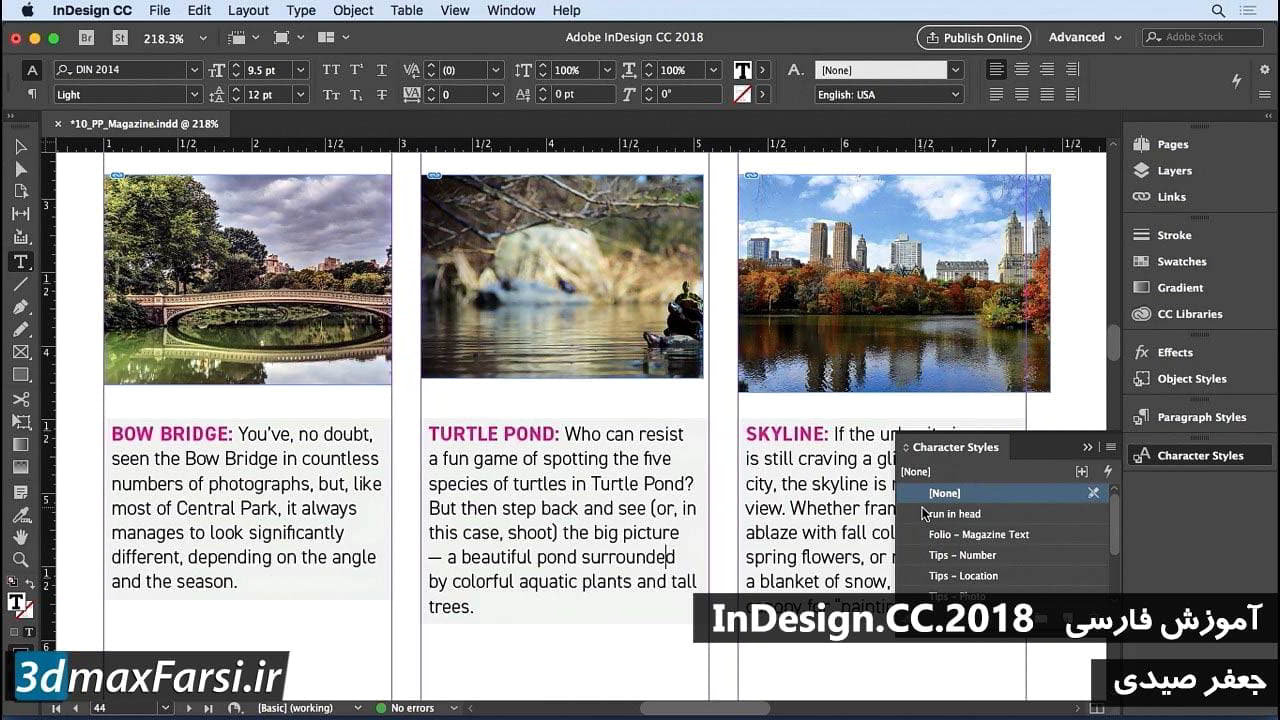
آموزش Cropping کردن تصاویر Photoshop نرم افزار InDesign به صورت nondestructively

آموزش Cropping کردن تصاویر Photoshop نرم افزار InDesign

خرید آموزش  ایندیزاین


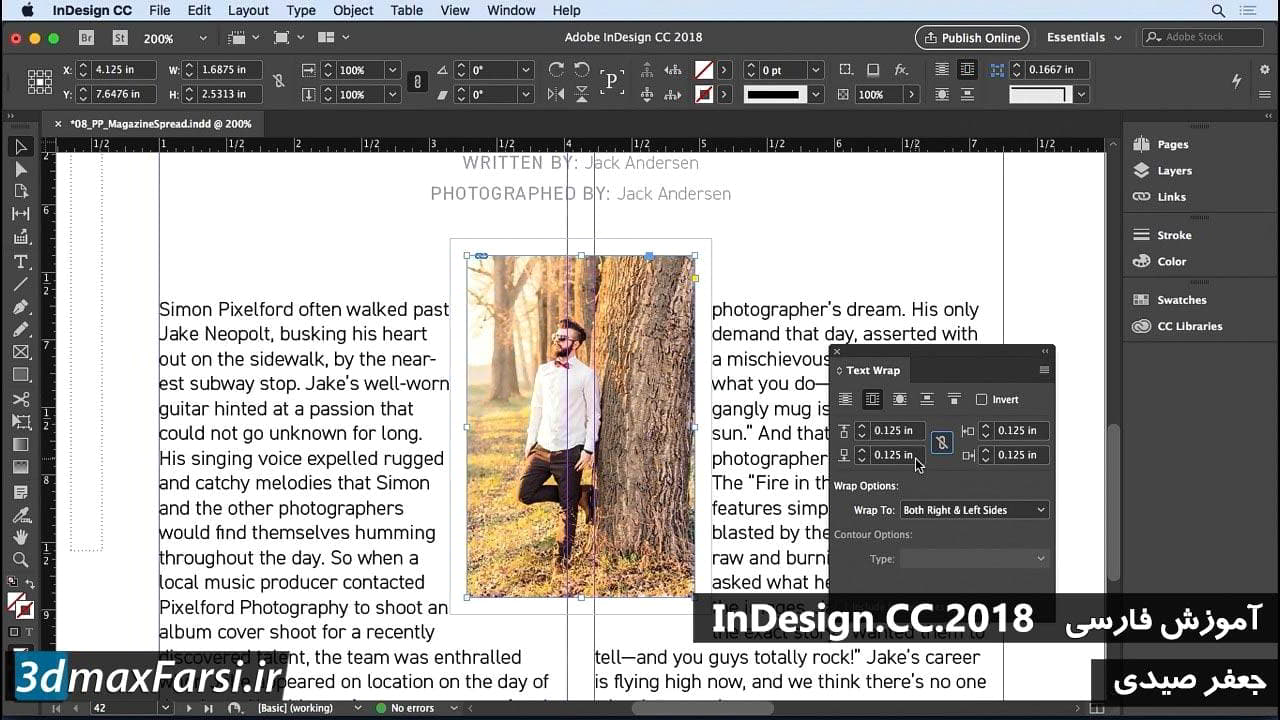
Adobe InDesign Typography - شروع به کار با فتوشاپ - تصاویر مرتب سازی بر روی تصاویر بدون تغییر، ما در این فصل بسیاری از چیزها را انجام داده ایم، بدیهی است که ما در مورد ایجاد ماسک های لایه ها و انتخاب ها و تغییر رنگ و بسیاری چیزهای مختلف، اما چیزی که ما در مورد آن صحبت نکرده ایم، احتمالا شایع ترین کاری است که می خواهید انجام دهید در فتوشاپ تصویربرداری می کند. بنابراین در این فیلم، ما کمی درباره برداشتن حرف می زنیم. همه شما باید انجام دهید برای گرفتن ابزار برش نامه C را بر روی صفحه کلید خود فشار می دهد یا می توانید آن را از نوار ابزار درست در اینجا انتخاب کنید. هنگامی که ابزار برش را انتخاب کرده اید، می توانید آن را انتخاب کنید متوجه شده اید که جعبه محدودی در اطراف کل بوم وجود دارد که آثار هنری شما در آن قرار دارد. به همین دلیل است که در ابتدا، فقط می گوید "خوب" بیایید آنچه را که میخواهید "این چیز را به" تبدیل کنید، به شما هیچ محصول ویژه ای را از خفاش نمی دهد. شما این را انتخاب می کنید. اینجا در اینجا نوار گزینه ای است که در آن شما تمام تنظیمات مختلف برای ابزار برش خود را انجام دهید. به عنوان مثال، نسبت، شما می توانید عرض را انتخاب کنید، ارتفاع و رزولوشن، شما می توانید نسبت های نسبت های مختلف مانند یک به یک، چهار تا پنج، دو تا سه، et cetera را انتخاب کنید. همچنین تصویر جلو چهار تا پنج، هشت نقطه پنج با یازده، اندازه های مختلف وب، شما این ایده را دریافت می کنید. شما همچنین می توانید فقط عرض و ارتفاع را در اینجا و یا شما مشخص کنید می تواند به میل شما مانند این محصول. اگر می خواهید از یک سیستم شبکه استفاده کنید، مانند مثال سوم، شبکه، مورب، مثلث، نسبت طلایی، این نوع چیزها، شما می توانید آن را با انتخاب این انتخاب کنید که شما شروع به برش عکس خود را، شما هر کدام از شبکه را ببینید سیستم شما انتخاب می شود در عکس خود ظاهر می شود

. Now, let's crop this one, kind of interesting, let's put this down, something like this. Say the client just wants like the bottom half of this thing right here. What happens when I press the Enter key or hit the check mark up here? Well, that basically removes the pixel data from the image. 'Cause watch what happens here, if i take this crop tool now, and I increase the size of the canvas, nothing is there, that information has been completely deleted. That's not what I want though because I might want to come back in here and do a different crop or use this photo in a different way or the client might not like the way I cropped it to begin with. So what is there in here that is gonna make this non-destructive? It's very simple actually. Let's undo this. Escape out of there. Undo, hold down the option and command key, or the alt and control key on PC and press the letter Z, then uncheck this box right here "Delete Cropped Pixels." When you do that, you're able to make a selection with the crop tool and then as you're making that selection, you can hit the check mark, and then any time you want if you don't like this, all you have to do is make a new selection with the crop tool and there is your original image kind of ghosted in the background, and you can make an adjustment just like that, which is pretty cool, so here's what I'm gonna do, I'm gonna make this kind of a sliver like I had before, and I don't know that the client is gonna use this in the composition, but for now, let's just see what it looks like, and actually, you know what, I might want to crop off a little bit more, so just outside the pizza, something like that. But the good news is if the client comes back and says, "You know what, we really don't like this one. "We wanted the full picture." It's very easy to get back to it. All I have to do, make a selection with the crop tool and my old image is right there. So remember, as you're making these changes do not have this check box checked in the Options bar. Because that means that any pixel data outside the crop box is going to be automatically deleted if you have that turned on. You want this flexibility, so as you are working with images you can easily get back to where they were before or reconfigure the crop without having to have multiple versions of the file on your hard drive. This is going to save you time. This is going to save you space, and given the fact that clients tend to change their mind, it's gonna save you a lot of frustration too.

ادامه مطلب
یک شنبه 6 خرداد 1397  - 6:00 PM

آموزش تبدیل تصاویر فتوشاپ به black and white در نرم افزار InDesign

آموزش تبدیل تصاویر فتوشاپ به black and white در نرم افزار InDesign

خرید آموزش  ایندیزاین


در این فیلم آموش ایندیزاین حرفه ای Adobe InDesign Typography - Photoshop Converting images to black and white، من قصد دارم به شما سریعترین و ساده ترین راه برای تبدیل عکس از رنگ به سیاه و سفید، و همچنین، چگونه برای ایجاد چیزی به نام رنگ انتخابی. اولین چیزی که می خواهم انجام دهم اضافه کردن یک لایه تنظیم به این است. شما متوجه شدید که من در فتوشاپ مقدمه ای در فتوشاپ این کار را قبلا انجام دادم. در اینجا ما قصد داریم یک لایه تنظیم سیاه و سفید اضافه کنیم. لایه تنظیم سیاه و سفید فقط همان کار را انجام می دهد. اولین چیزی که میخواهم انجام دهم این است که مطمئن شوید این اصلاحگر کوچک کلیک کنید و بکشید روشن است، بنابراین من می توانم از اینجا بیرون بیایم و این عکس را فقط با کلیک کردن و کشیدن در اطراف آن تغییر دهم. من می خواهم اطمینان حاصل کنم که قرمز واقعا کمی تاریک تر از این است، و بعد آنچه که من در حال حاضر انجام می دهم فقط نوعی بازی با برخی از این تنظیمات است. به عنوان مثال، ممکن است زوج ها تمایل داشته باشند کمی آن را روشن کنند، این است که پنیر در پیتزا عمدتا چیزی است که آن را تحت تاثیر قرار می دهد. من همچنین می توانم سبزی ها را امتحان کنم، هیچ چیز واقعا وجود ندارد، cyans، این فقط کمی از قطعات لهجه در اینجا، و بلوز، کمی بیشتر است. واقعا، اصلی ترین چیزی که ما در اینجا هدف قرار داریم، قرمز درون این سند است. من قصد دارم به حدود 10. من تنظیمات شبیه به این. قرمز 10، زرد 31، سبز 84، سیان 46 و آبی منفی 45. شما همچنین می توانید magenta را اگر می خواهید تنظیم کنید. شما همچنین می توانید از منوی از پیش تعیین شده در بالای صفحه انتخاب کنید. آنها چیزهایی مانند فیلتر آبی هستند که در واقع به نظر می رسد خیلی سرد، تیره تر، فیلتر سبز، آبی با کنتراست بالا، کنتراست بالا قرمز، مادون قرمز، سبک تر، حداکثر سیاه و سفید، حداکثر سفید، تراکم خنثی، فیلتر قرمز و فیلتر زرد. در این مورد، من واقعا فیلتر آبی را دوست دارم. هنگامی که این کار را انجام می دهیم، در اینجا چیزی است که می خواهم انجام دهم. من قصد دارم این را نابود کنم.
Notice down here in the layers panel, it's a layer mask. I can do the same thing I was just doing before. This time, grab my brush tool, B for brush, increase the size of my brush, make sure that I'm working with the soft edge brush, and then wherever I want color to show through, what I'm going to do is paint with black. Black's my foreground color, here we go. I'm just going to paint in the pizza, something kind of like this. It doesn't matter if you leak a little bit onto the red table, doesn't matter. We can always brush that out after the fact. We know how layer masks work now. Now I'm going to decrease the size of the brush, brush a little bit on the crust, and I'll even brush in their hands. I think that's going to make for a cool effect. Even if you leave a little bit of that red kind of poking through on the edge of these things, it almost gives it kind of a surreal, almost like it's glowing effect, which is kind of neat, so I like that. Let's go ahead and do this right here. There we go. Grab that hand, get that all painted back in. Same thing over here, paint in the hand, bring back a little bit of the pattern on the shirt. There we go. We can brush in any part of this that we want. We can brush in their pants, so that we see just little hints of color here and there. It doesn't really matter where we bring the color back in, totally up to you. Let me increase the size of the brush just a little bit here. I'll bring back the color in these jeans. There we go. I'll take away some of the color in the red that I see leaking back through here by switching again, painting with white wherever I want the black and white adjustment layer to show through. There we go. Let me brush in a little bit more here, there we go. If I want to check the layer mask, remember how to do that, option or alt click, there we go, so I'm missing a few little pieces in here. Clean those up. Let's just get rid of this out here, using the letter X to switch between black and white. That is the key to manipulating a layer mask. I think I'm just going to get rid of this out here too. We'll only do the hands, I think that makes sense. Something kind of like that, there we go. OK, option or alt click, there we go. If you want to remove some of these little bits of red that come through, you can certainly do that just by painting with white, just like that, there we go. Again, you can do whatever you want with this, but for the most part, we just want to make sure that parts of it are in color, parts of it are in black and white, and then we have a pretty neat little effect at the end. That's just what we're going for here. There we go, that is a selective black and white photo. As you can see, it's not nearly as hard as you probably thought it was. You probably see this technique all the time, people using what's called selective color, but, you know, a lot of people think that it's this big, involved process, when really, it's just all about patience and having the ability to mask out the different areas that you don't want affected. There's our finished composition of the selective color black and white. Hopefully this makes a little more sense to you, and you have something kind of brewing in your head for what you would do with your next creative project when you needed to use black and white imagery.

ادامه مطلب
یک شنبه 6 خرداد 1397  - 6:00 PM

صفحات سايت

تعداد صفحات : 32

جستجو

آمار سايت

کل بازديد : 31720
تعداد کل پست ها : 63
تعداد کل نظرات : 0
تاريخ ايجاد بلاگ : شنبه 29 اردیبهشت 1397 
آخرين بروز رساني : سه شنبه 2 خرداد 1402 

نويسندگان

طراح و گرافیست

امکانات جانبي